So you’ve decided to sell your home or maybe you just moved in. Either way, you might decide that a fresh coat of paint is just the thing to freshen your place up. In fact, paint provides one of the greatest impacts for the least amount of money.
Your Realtor can provide recommendations to professional painters who do an excellent job and warranty their work. But if the DIY bug has hit, read on.
You’ve probably tried painters’ tape and were unhappy with the result. You might have been told cutting in is scary and only for advanced pros. I’m happy to announce to you my painter’s tape is over five years old, and I have cut in many walls on the three houses we’ve owned during that time.
A few tips (and a little practice) will help you along the way. Soon you too can scoff at people who pick up a roll of blue tape every time they buy a gallon of paint. Here’s how:
- Paint the ceiling: A professional painter told me they only cut in once. Instead of trying to only paint the ceiling and then only painting the wall, take the ceiling color onto the wall. This way, when you cut in on the wall, you will create the line of the ceiling too – peekaboo color on the edge and half the effort! This was a game changer for me.
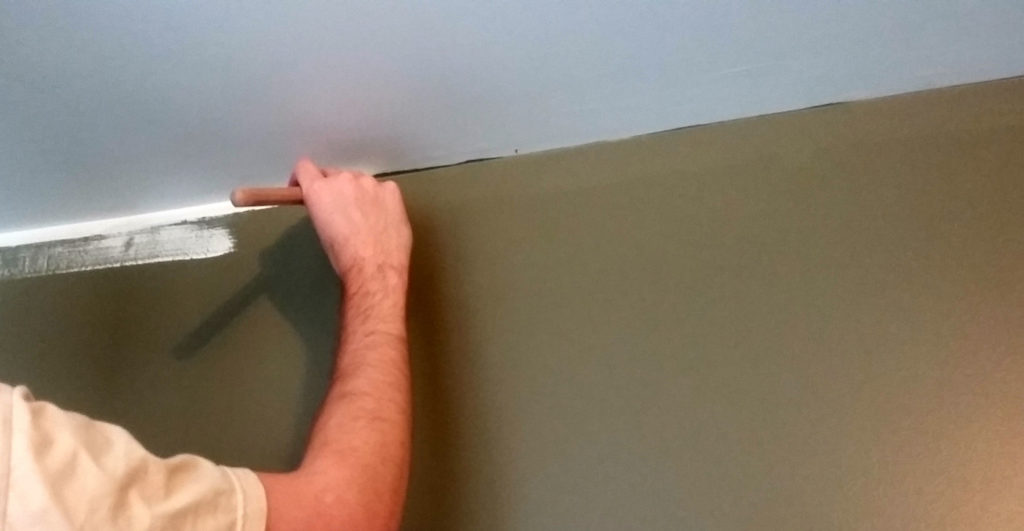
Covering up previous sloppiness. Putting ceiling color on the wall. - Select your brush: Choose a long bristled brush designed for your type of paint. You may be tempted to go for a shorter brush offering more control. Counter intuitively, you will get a more predictable result from a long haired brush. You should feel the paint flowing onto the wall. Don’t go cheap on the brush – this is your tool of excellence. A pampered paint brush may last many years.
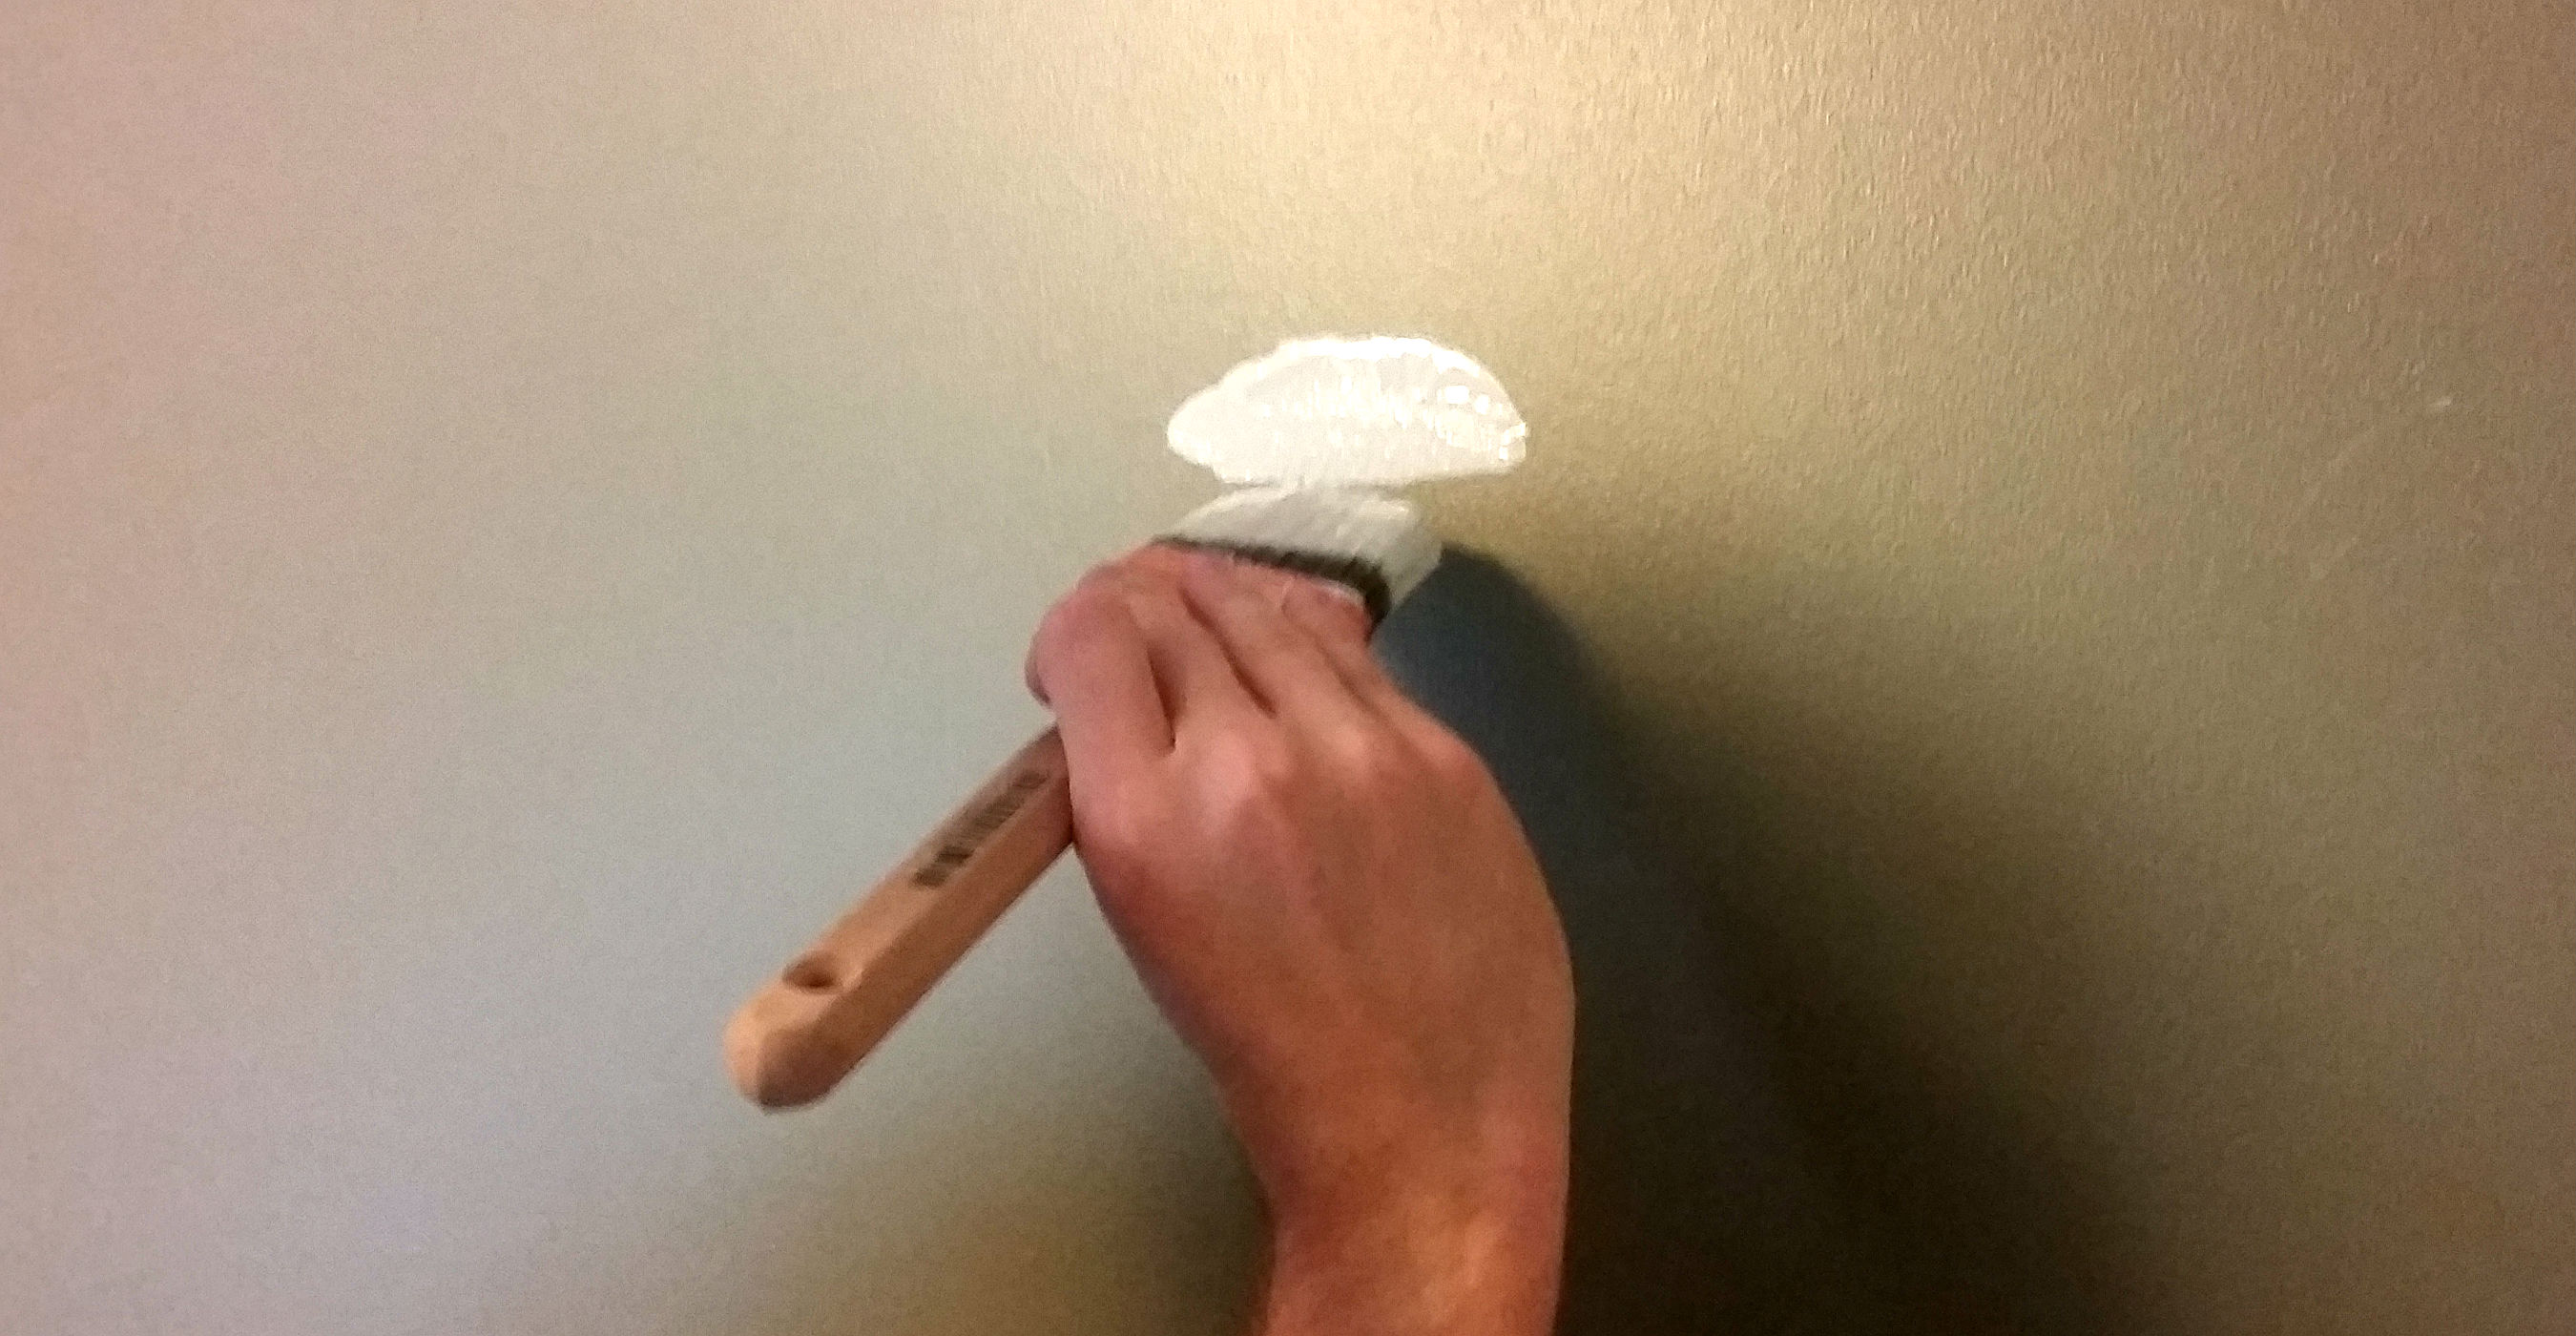
- Load your brush: Get a good amount of paint on your brush a half to two-thirds of the way up the brush. Try to keep the base of the brush paint-free for enhanced longevity. Now gently wipe off the tip of the brush and the part facing the ground. A rookie mistake is to load the brush with too little paint. You want enough paint to let it flow smoothly but not so much it drips. This takes some experimentation.
- Brush off: Dab a good amount of the paint onto the wall just to one side, making sure not to get it ceiling (or trim, corner, or thing you’re cutting in around).
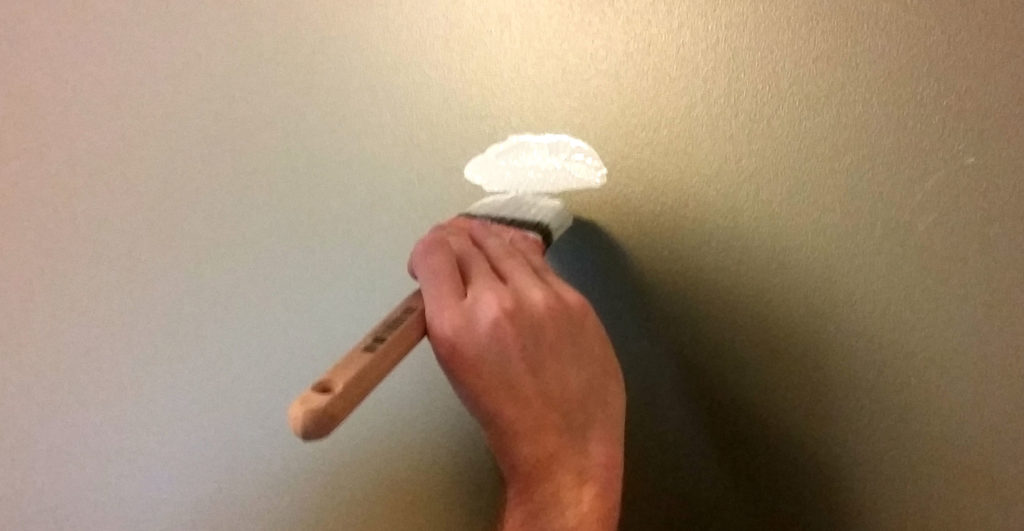
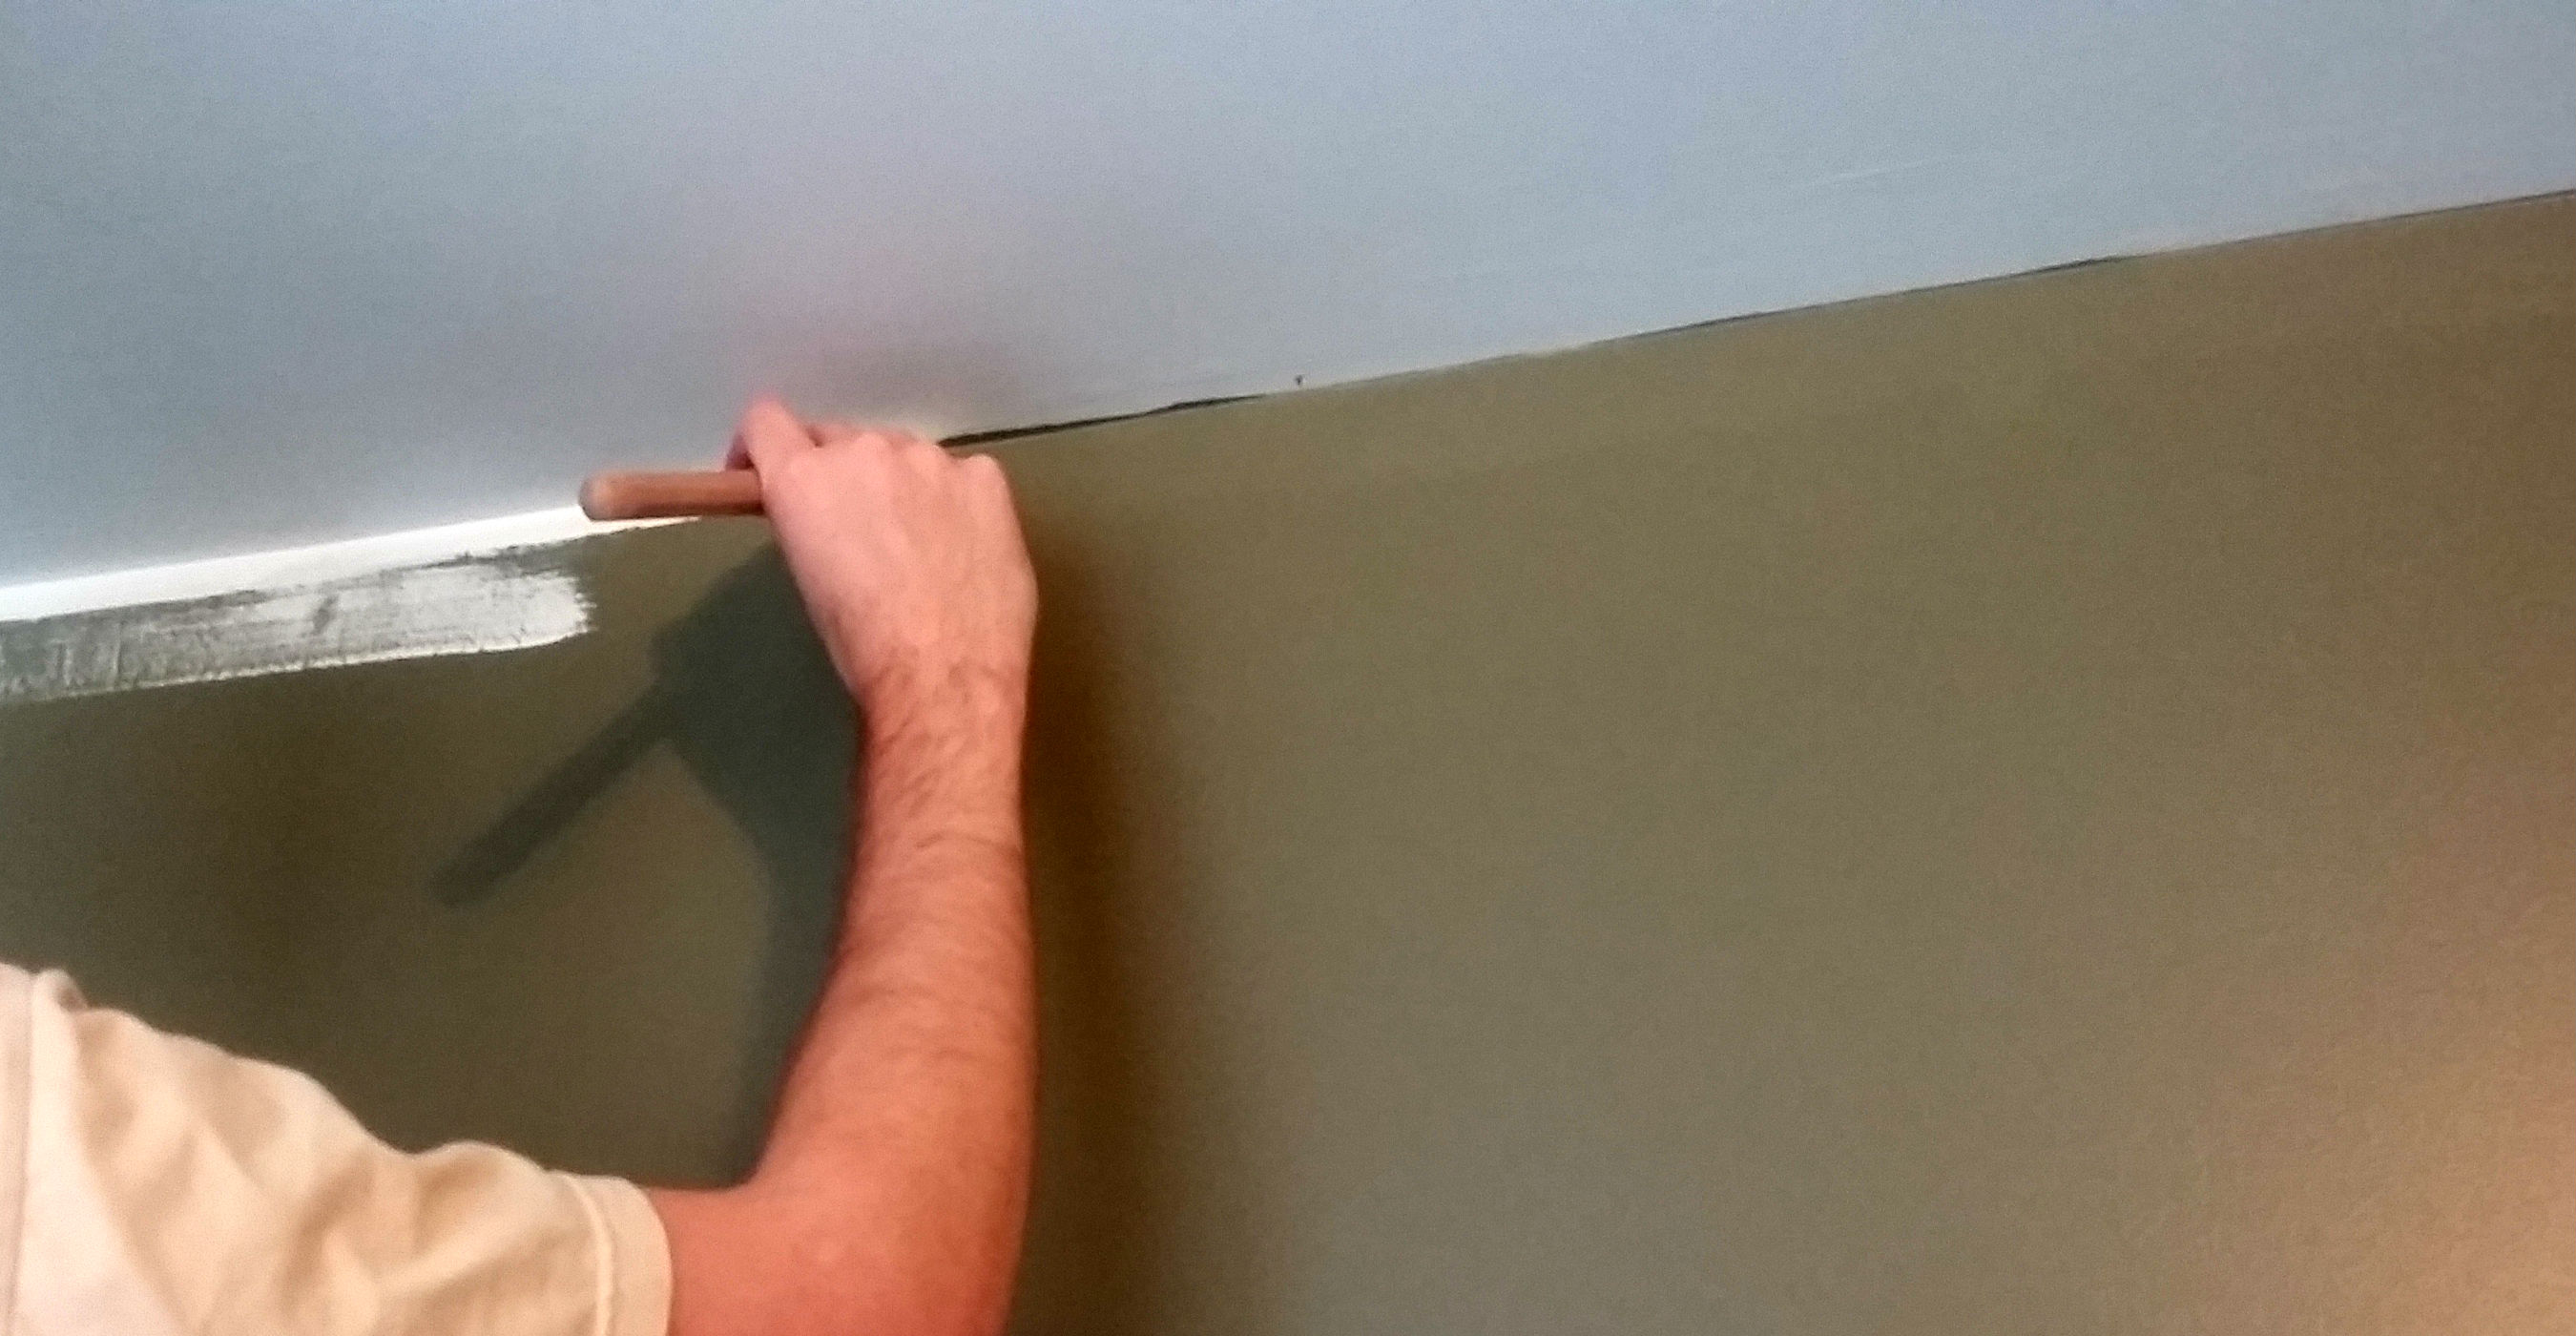
Big glob of paint, strategically placed. - Pull the paint: Now place the tips of your brush in the dabbed paint and drag it to the side and towards the object you are cutting around. Notice the clean bead of paint that forms at the top or bottom of your smooth sideways pull? You will cut in with the bead of paint, not with the bristles of the brush. (I know this is philosophically different than you may have thought about painting before. It is super important.) Stop before the bead of paint gets thin and wispy.
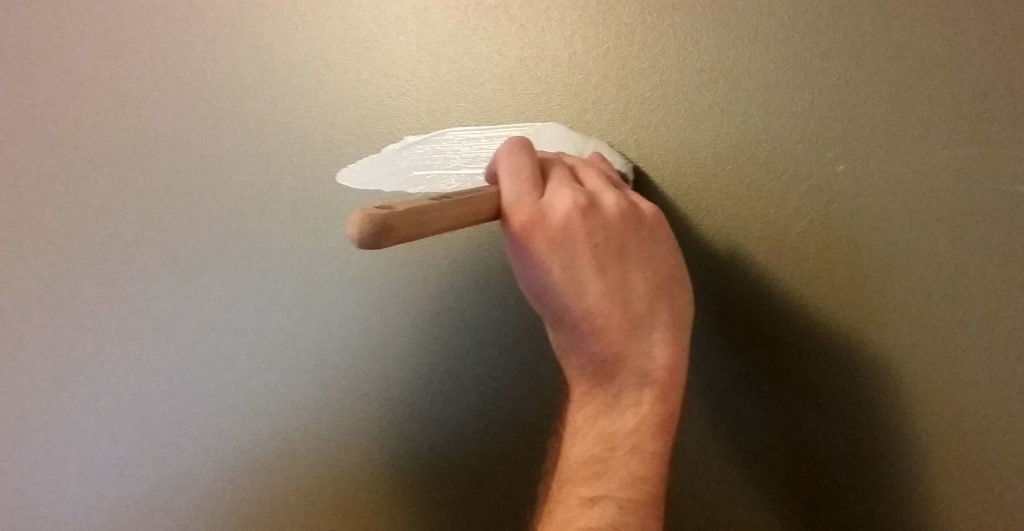
Pulling the paint to the side to create a clean edge at the top. - Clean up behind you: As you cut in, you will create a predictable pattern with your brush strokes. Take a second after each pull to clean up the strokes behind you. Turn the brush perpendicular and blend the brush strokes in for a smooth transition.
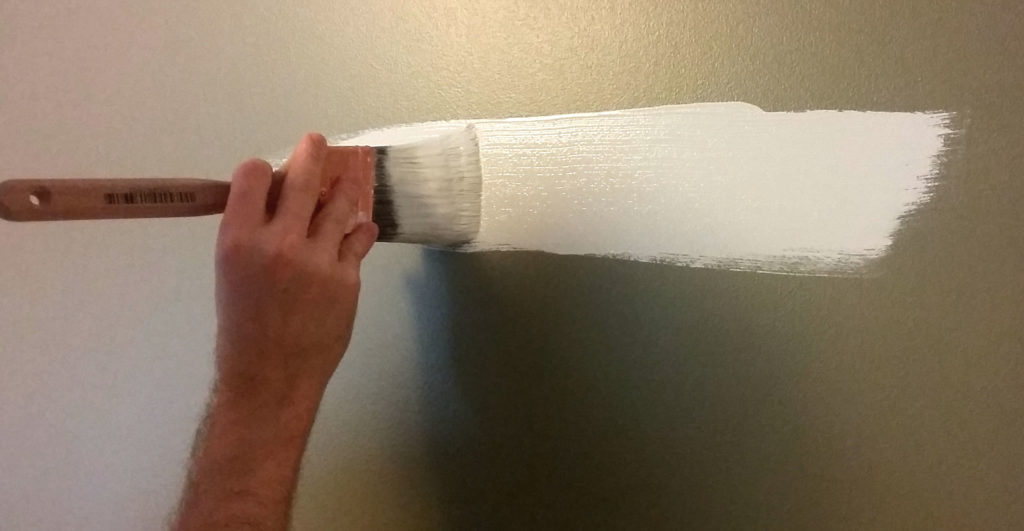
Clean up your brush strokes. Notice the brush does not quite touch the clean edge at top. Have fun with your new found skill! Soon you’ll start searching for painting projects around the house. Throw away the tape in favor of clean paint edges in less time.


This post was guest written by my handy husband. He paints everything.